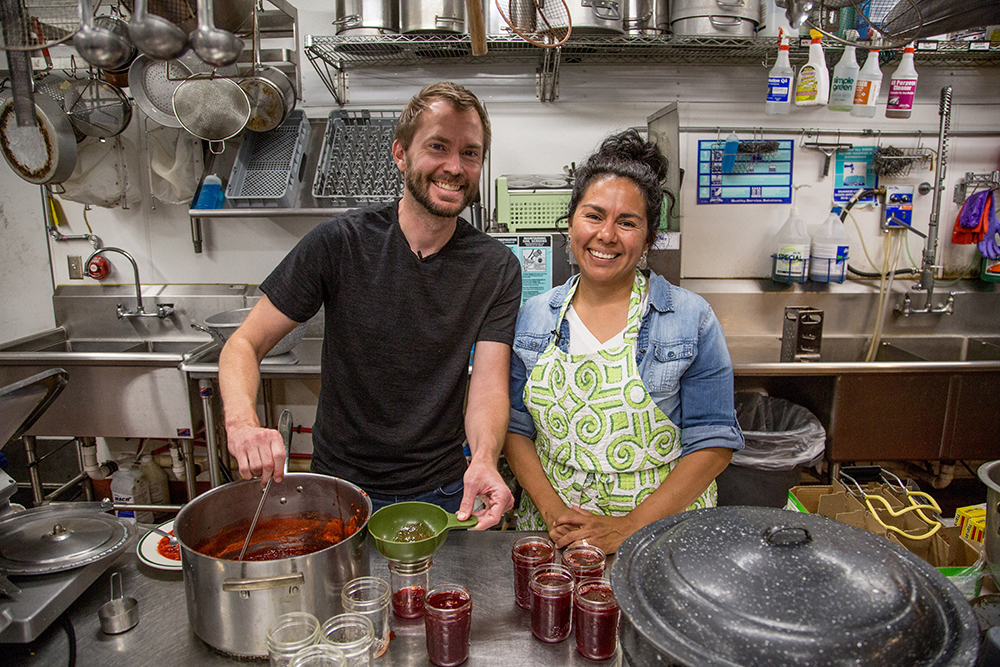
Teriney Tobler is the canning queen at The Root Café, a beloved restaurant in Little Rock, Arkansas, specializing in locally grown organic food. When summer comes along and fresh fruit and vegetables are in great abundance, Tobler is there to preserve that fresh taste of summer in the form of jams, jellies and pickles to be enjoyed year-round.
Tobler has been canning at home for eight years, ever since her son was born and her family came to visit and take care of her. They canned fruit, veggies and meat and stocked her whole kitchen. “I was fascinating from then forward, so I started dabbling,” Tobler said. She started out with fruit she and her kids picked from farms during the summer and took off from there.
“I love making my own jams and jellies. I love knowing what’s going into them versus buying them at the store. For the most part my kids eat only what I make and they love it. Since I can it, it lasts just as long as store-bought stuff. It has a fresher taste to it. And I like to jokingly say that it tastes better because it has lots of love in it!”
While Tobler concedes that making your own jam is probably more expensive and certainly more time consuming than buying at the store, she does it for the love of the craft.
“Regardless, it's about the process for me. For my home canning, my kids get to be a part of the process. We love going to the farms! Sometimes we are lucky and get to meet farmers and their kids. My kids love that. They ask questions about the fruit, they learn about different varieties and then they get to pick the fruit. When we bring the fruit home my kids are able to help clean the fruit and do some prep work. They watch and observe the process and lastly are able to enjoy the fruit of their labor. In addition my kids are slowing learning a dying craft. This is something that they hopefully will be able to use in their homes in the future.”
The Root’s Lemon Strawberry Jam
Ingredients:

Tools:
(Can be bought together as a kit)
1. Wash your jars with soap and water.
2. Fill the jars with water and place in a large pot also filled with water so that the water level is about even with the tops of the jars.
4. Sometimes they have gushy parts, and you can just cut those bad parts off.
5. You want to pulse it. You don’t want to blend it—I mean, you can if you want, but I prefer pulsed because it’s still a little chunky.
9. I like a bigger [grate] so you get chunkier pieces, because I like the distinct flavor when you’re eating it.
11. You don’t actually want to stir too much. I find it creates more of like a foam on your jam—which for home canning, I don’t care, I use every bit. My kids don’t care that there’s a foam. But for canning for The Root I want a real clean jam or jelly.
12. A full boil does not lay back down [when you stir]. It just keeps going and going even while you’re stirring it. Be careful watching it, otherwise it will boil over.
13. It happens very quickly. I know they say a watched pot doesn’t boil, but they are wrong! If you’re not watching it, it can boil over really quickly so I prefer to pay attention.
16. It’s really important to take care with this step, with the sterilizing and then removing them, because we’ve just removed bacteria and we want to keep them that way. We are ensuring that your jam that you’ve worked so hard for is going to keep. Because if you skip on these steps or compromise them, your jam could spoil. And that’s no fun. And you could get botulism and die. That is not a fun part. But, seriously.
17. It tastes fine, it’s just a visual thing. You can add a little bit of butter to your mixture to reduce the amount of foam, but for The Root we don’t add the butter to it.
19. It’s always like a relieving point to me when I’ve made a giant batch, and I get to the point where I can see that, and I’m like “Ah! It worked!” I honestly think I do it every time even though I’ve made tons. It’s such a relief when I see that little ripple.
20. You want to make sure that it can seal properly, and if there’s sticky strawberry on it, it will not.
21. We’re still trying to keep everything sterilized. So you want to make sure you’re not touching the undersides, the edges, but you can touch the top. When I put them in my pot, I always make sure I layer them, because they’re easier to pick up. Because if they’re all dumped in there, it ends up being a big clump and hard to separate. And this way it ensures I’m not going to have to touch anything.
22. With the rings, you don’t want to use all your muscle weight to tighten them. They call it the two-finger test: you basically just use two fingers [index and thumb], and that’s as tight as you want to go. Because if you go too tight, you can have sealing issues.
26. Watch the tops of the cans. If they start to pop up, they’re bad.
When you eat your jam and it’s all gone, which will happen, you can reuse the jars, you can reuse the rims, but you cannot reuse the lids. You can buy the lids separately.
Teriney's Tips
3. Cover the pot and boil the jars for 10 minutes.
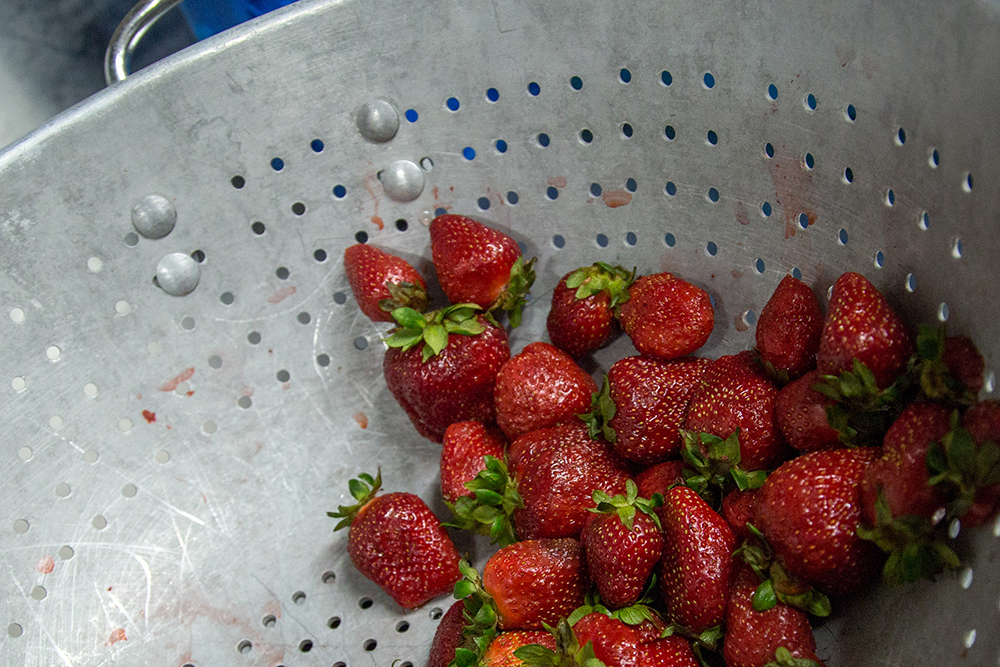
4. Wash your strawberries and trim the green off.
5. Process the strawberries by pulsing them in a food processor. You can also chop them up with a potato smasher if you don’t have a food processor.
7. Measure 5 cups of the processed strawberries into a pot.
8. Add ¼ cup lemon juice.
9. Grate in the rind of 1 lemon.
10. Place mixture on stove and add pectin.
11. Bring the mixture to a boil and give it a gentle stir.
12. Let it come to a full boil and add 7 cups of sugar while stirring.
13. Bring to a rolling boil again and let it boil for 1 minute. Keep stirring gently during the this stage.
14. Turn the heat off on the jars. Pour some of the hot water in another pot to sterilize the lids. Clean the lids beforehand and cover them in this hot water to sterilize them. Do not boil the lids, because it will affect the plastic and compromise the seal at the end. Keep the jars covered in the pot so they stay warm. You don’t want to add the hot jam to cold glass jars.
15. Turn the heat off the jam and remove everything from the stove.
16. Pull out the jars with a jar lifter. Be careful—they are very hot!
17. If you don’t want foam in your jam, skim the foam off the top.
18. Fill your jars with jam using a funnel and leave about a ¼-inch space at the top.
19. As you get towards the bottom part of your batch you can see ripples in your jam where it’s started to cool and solidify. When you see the ripples, you know for sure it worked!
20. Carefully wipe the sticky off the outside of the jars with a wet paper towel. Be careful not to touch the inside of the jars.
21. Place lid tops on the top of the jars with a magnetic lid lifter.
22. Screw on the lid rings. The jars are still very hot, so use a towel to hold on to them.
23. Put the jars back in the big pot of hot water. Make sure that the jars are covered by at least an inch.
24. Bring to a boil, cover and let the jars of jam boil for 10 minutes.
25. Turn off heat and let jars sit for a minute before removing your jars of delicious jam with your jar lifter! Each jar will make a popping sound as they cool down and seal. You can also check to make sure they are sealed by looking at the top of the lid—it should be a smooth surface with no raised bumps.
26. Wait 24 to 48 hours to open a fresh jar and enjoy! Your jam will last at least a year.
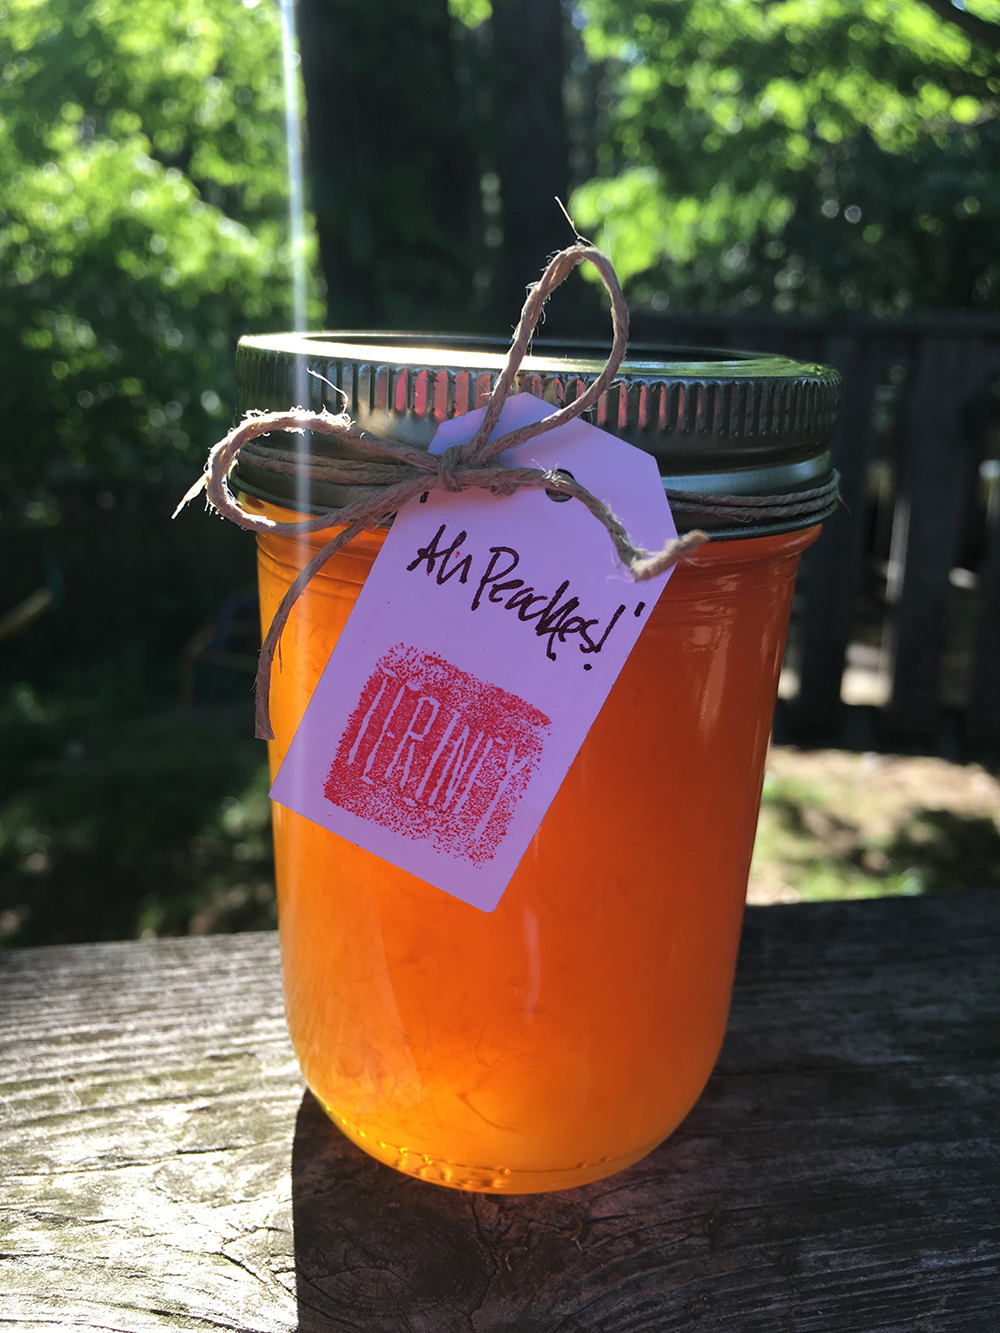
Teriney’s Favorite Jam

“I love peaches because anytime I make peach jam for people they always tell me it reminds them of their grandma’s jam. They say, ‘Oh, I used to eat this with my grandma! ‘This reminds me of my nanna,’ whatever, every time. And it is the first jam that goes. Because I make it at home, for myself and for my kids, and it is the first one that everyone eats.
And I’ve started adding liquor to some of them to spice it up, and they love it!
Take peaches, boil water, drop them in boiling water for a little bit. Immediately transfer to cold water and the skin is supposed to peel off. That doesn’t always work for me; sometimes I like to just peel it with a peeler. Cut it, pull out the pit, then process it in your food processor. Then go through the same process as you would with your strawberry or any other jam. You’re going to add your peaches, add your lemon, 5 cups peaches ¼ lemon, then add pectin, bring it to boil, add sugar, bring to boil for one minute, and then at the end you can add whatever flavors you want. Like at the end of mine I add liquor, because that’s what I like. But I’ve seen spiced, I’ve seen ginger peach; there’s all kinds of varieties that you can make.
If I’m adding something with a high alcohol content, I’ll add it at the end so that flavor is still there and strong. After I pull it off the stove. But if you wanted like a vanilla, you could add your vanilla pod while it’s boiling. If it’s a liquid with high alcohol I add it at the end so that taste is still there, but if it’s like a spice or a vanilla, I add it while it’s cooking so that it’s really cooking into it."