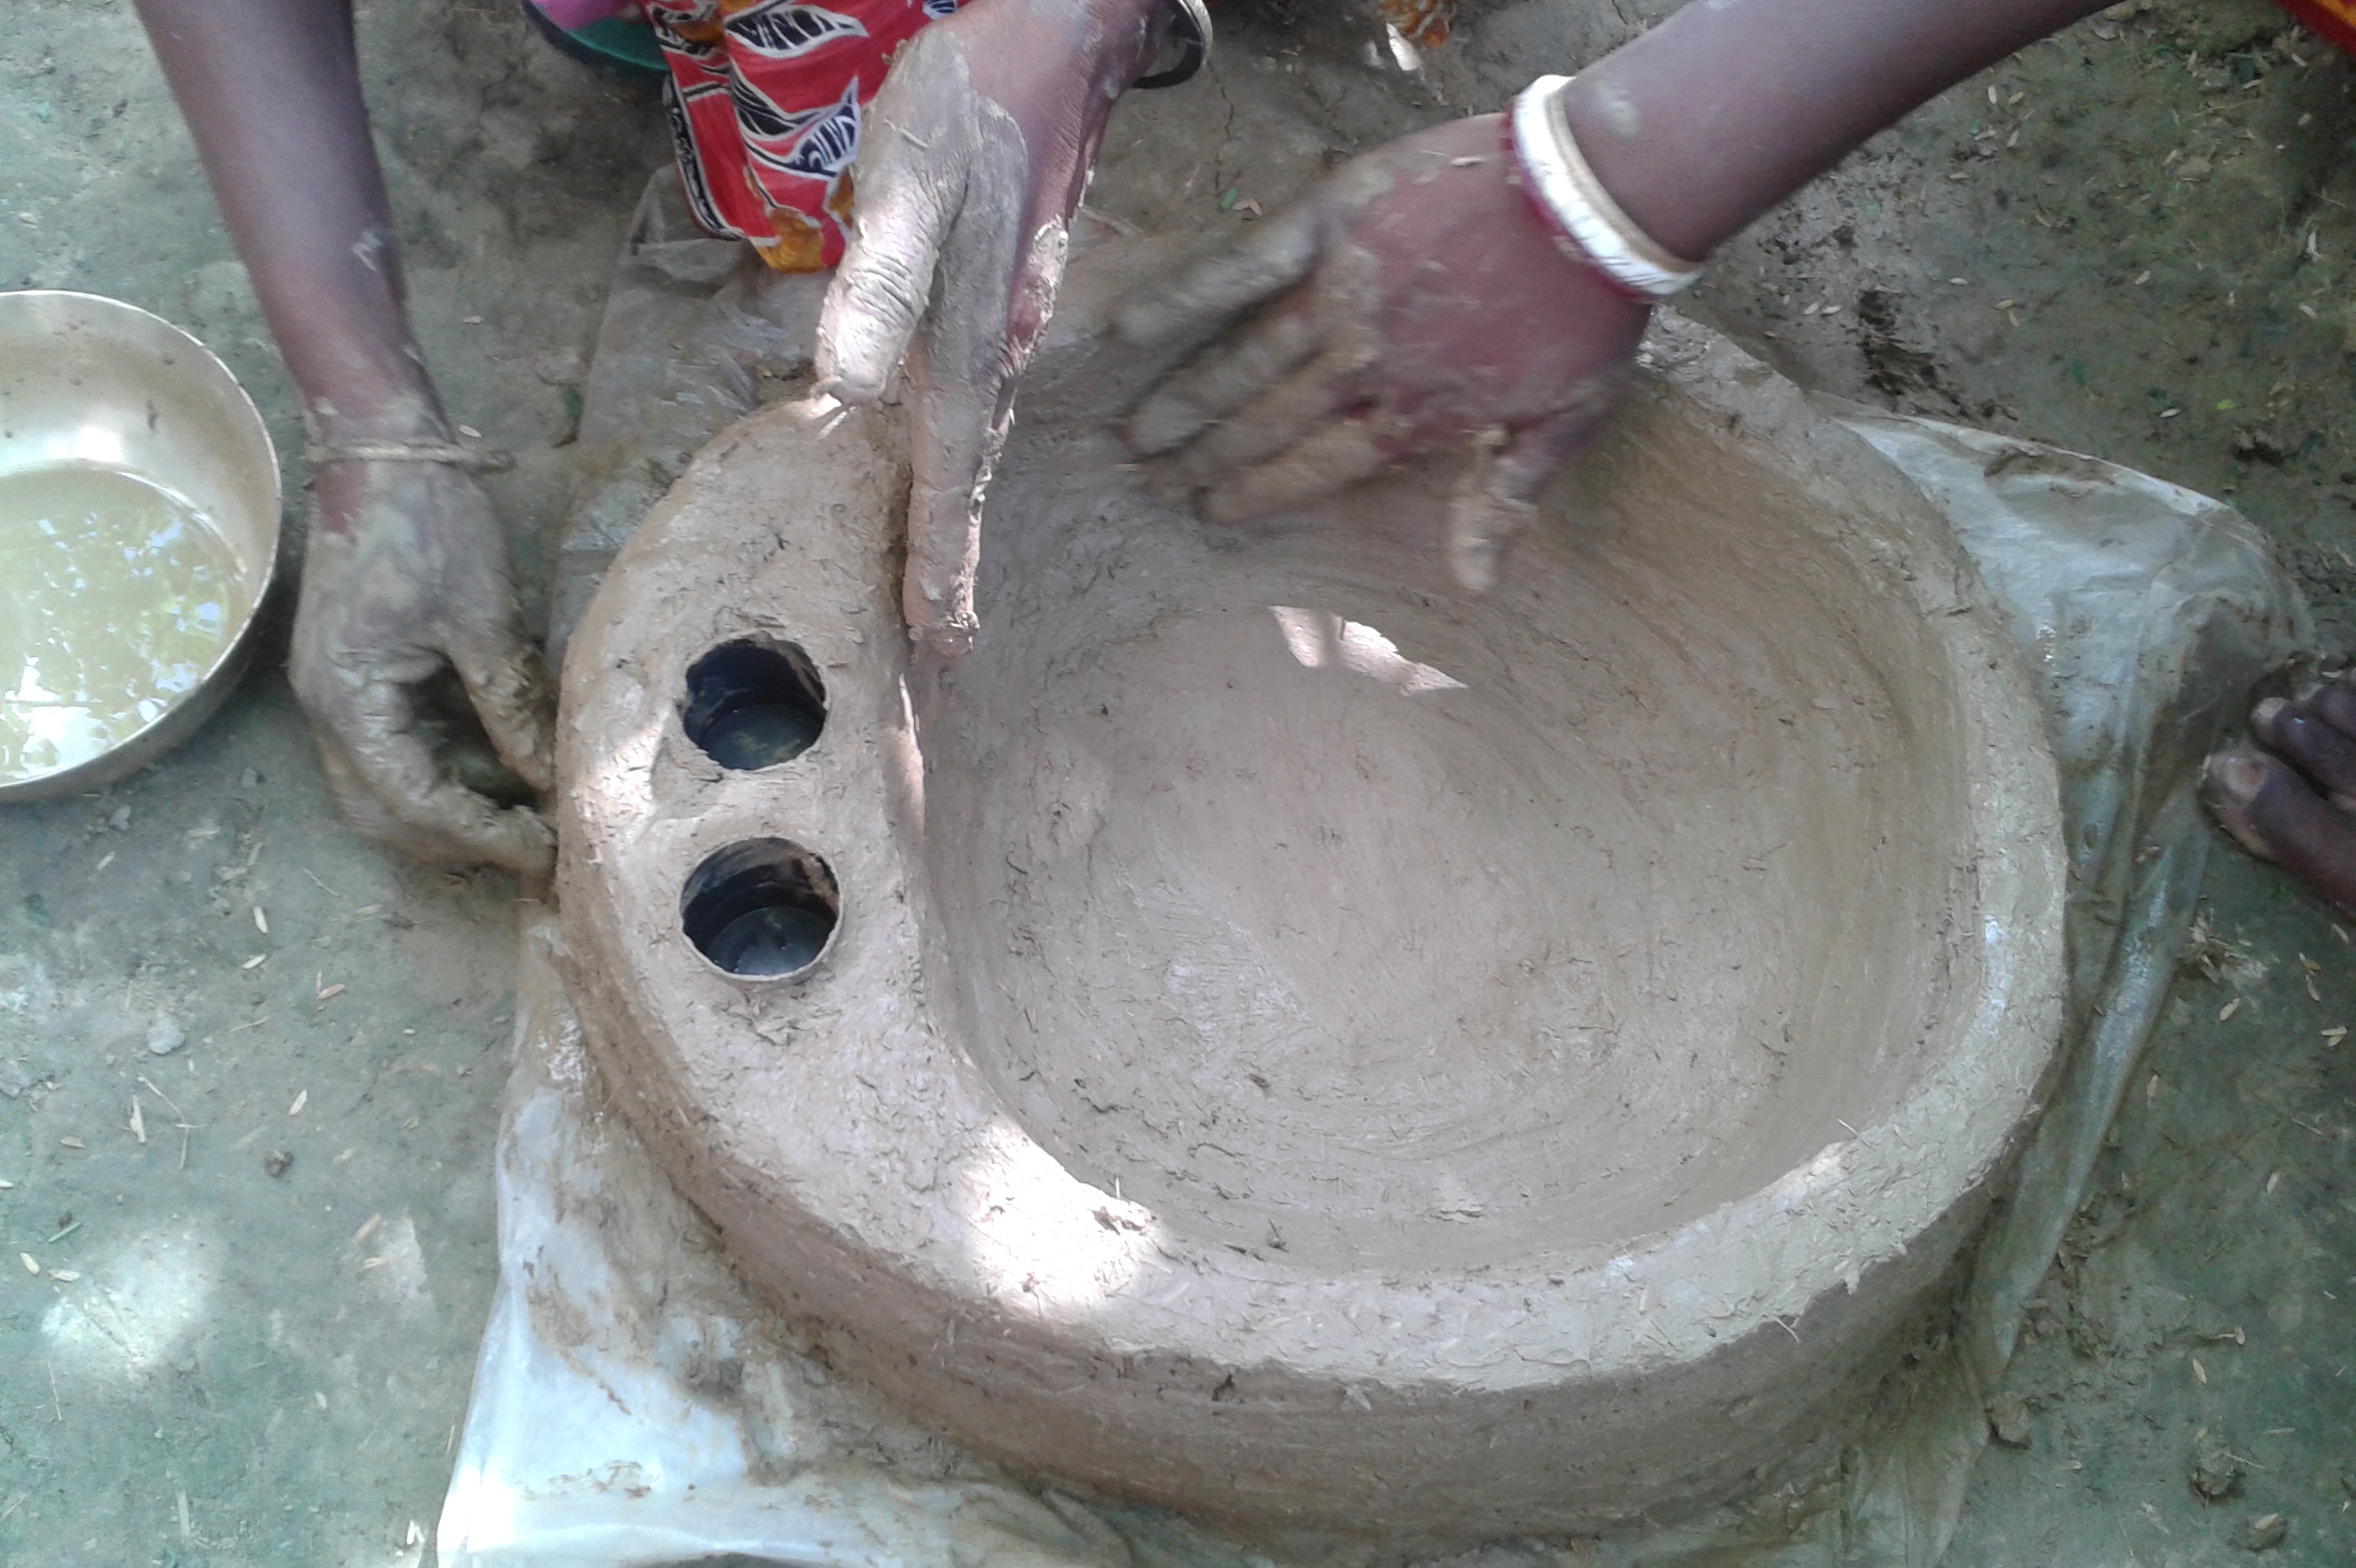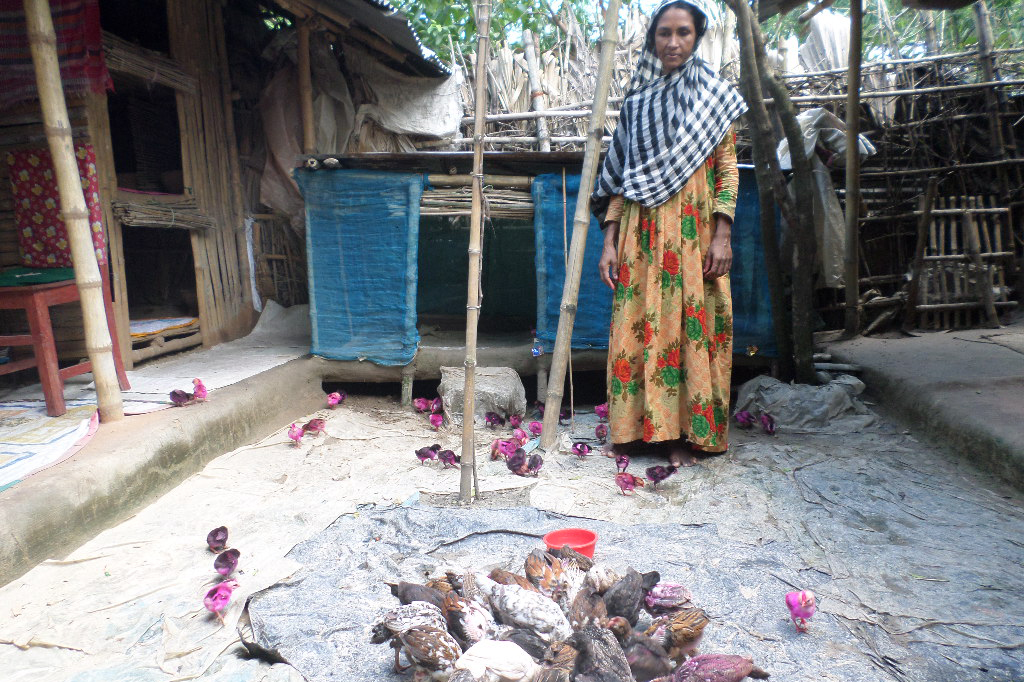
Heifer project partners like Parul Khatun working on poultry businesses in Bangladesh often make hatching pots to increase the well-being and production of their hens.
Hatching pots, also called hajol, give hens a comfortable, safe place to incubate eggs. The two small holes at the front of the pot make it possible for hens to access food and water without leaving their eggs. Otherwise, the hens have to leaver their nests and go searching for sustenance, which usually means fewer eggs end up hatching.

Here’s how Parul made hers:
Parul credits hatching pots as a major factor in her poultry business’s success. "I was in the dark and struggling to make ends meet when I was introduced to the hatching pot by Heifer Bangladesh," said 21-year-old Parul Khatun. "It has opened a new door for my livelihood." Teaching farmers about hatching pots is an example of what we mean when we say that Heifer provides livestock and training to our project partners.
If you want to help provide a flock of chicks and training to a farmer like Parul, you can do just that right here.